


EMERGENCY CHOCOLATE CAKE
Nothing scares most of us as much as baking – and rightly so. Cooking is all about doing things with your own sense of style. Baking is scientific – biochemistry taken to the nth degree. My sister’s birthday was coming up and I hate store bought cakes – they’re always greasy (they use heavy greasy vegetable oils) and a terrible combination of bland cake with oversugared frosting: TERRIBLE. My sister was having a birthday and all birthdays after 35 require emergency doses of chocolate.
I searched through recipes in my books and on-line for a couple of days. I finally settled on one online culled from Gourmet Magazine 1996 called “Stout Chocolate Cake.”
As to the cake: I followed the recipe to the letter. Though I’ve been cooking since my teens (a long time) – baking a cake is ALWAYS an ambitious undertaking… and it even scares me. I’ll include the recipe for the cake at the bottom of this entry and remember, it’s not mine, though I made it my own by adding a few choice ingredients.

Above: the cakes are cooling in their 9x2 pans for 10 minutes before I flip them over.
Here’s my personal philosophy on chocolate:
1. More is better.
2. Semi-sweet is better than too sweet.
3. Good chocolate requires depth of flavor (hidden touches of sea salt, ground cinnamon or allspice, espresso, vanilla, dark rum and cayenne and/or black pepper) so don’t be afraid to add little touches of these (in whatever combination you feel) to bring out the most from your chocolate.
4. Go for the good stuff – it’s worth it in the end, and also easier to melt than the cheap stuff.

Above: the cakes have been taken out of the pans – I’m allowing them to cool completely before beginning the assembly process which will include slicing in half them with a long serrated knife….!
Once the cakes were made, then I’m no longer baking, I’m cooking – so I was back in my element. It was time to make the frosting and the glaze (ganache). These are fundamentally sauces – I’m the sauce KING, so no worries.
I selected a sour cream based frosting which I’ve used before - because it always works. You will need 2 cups sour cream, 1 cup heavy whipping cream, 4 oz semi sweet chocolate, ½ cup fine cocoa powder, ¾ cup confectioner’s sugar, 1 teaspoon vanilla, ½ teaspoon sea salt, 1 teaspoon dark rum, 1 teaspoon really strong espresso, ¼ teaspoon allspice.
First blend the sugar with the heavy cream – don’t struggle – use your hand blender for this – get it to soft peaks. Add in the sour cream, continue whipping till you get stiff peaks. Don't have one? Make the $12 investment - it's worth it. In the meantime - you can obviously use a whisk, though it will be a workout.

Above: double whipped cream with little specs of ground allspice.
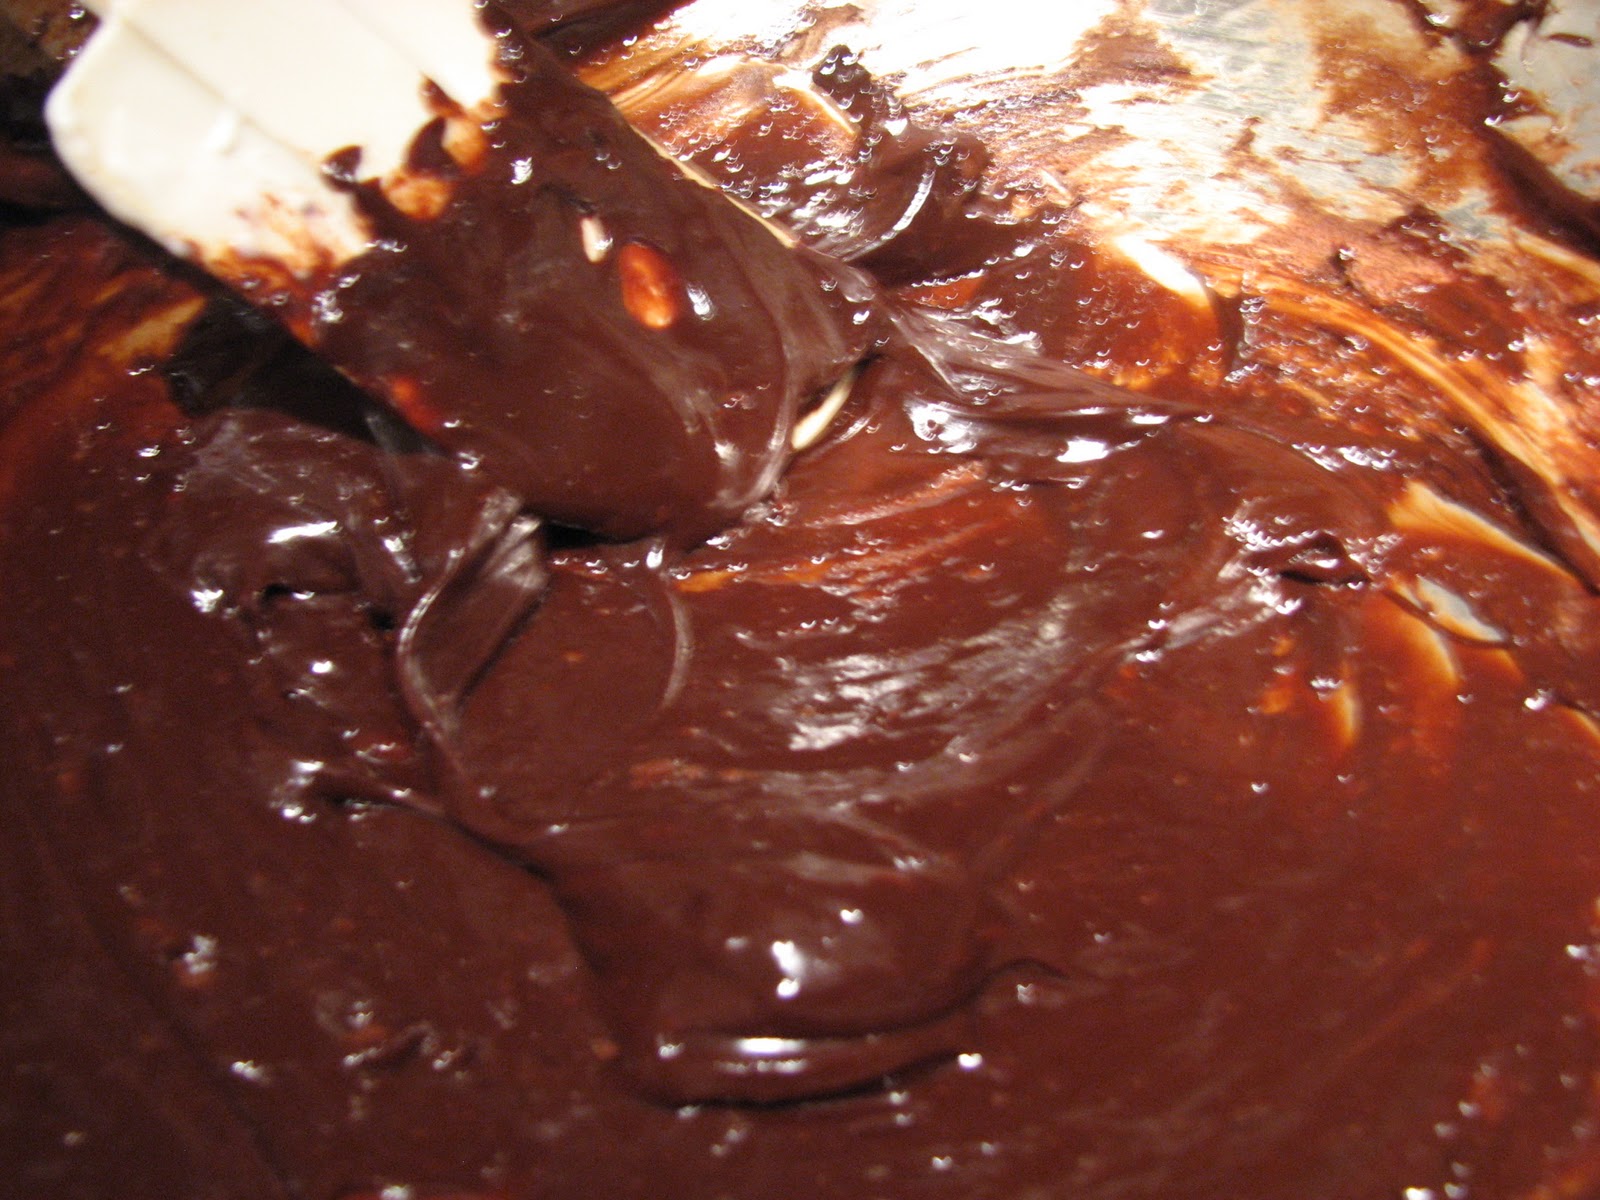
Combine all the other elements (except the cocoa powder) over double boiler (this is a simple pot of simmering water, a clean metal bowl – and a silicone spatula. Make sure the chocolate is fully soft and smooth. Take it off the heat and add in a large dollop of the double cream to cool it and thin it down. Now transfer all the chocolate into the double cream. After you’ve blended it thoroughly with the spatula (try not to deflate), add in the cocoa powder.

Above: The cocoa is about to be blended into the double sour cream chocolate mixture. The result is a double chocolate frosting/filling: MMmmm.
Put on your surgeon’s hat and cut the cakes in half. Do it slowly, try not to lose too much crumb and the straighter it is, the easier it will be to assemble. [Remember, everything will be frosted so don’t sweat this unnecessarily and it can get a bit messy but to date, nobody’s died from a chocolate splatter on the floor]

Note: Those crumbs were very tasty so I now know the cake is good.
I lined my fancy cake stand with wax paper strips and set the first half cake on top of the wax paper. Frost the surface thoroughly and add on the next layer. Frost the surface thoroughly and slice the next cake in half.

Above: frosting will help repair any little breaks that might happen as we try to remove the cake from the pans. Who am I kidding, a little kitchen mouse (me) couldn’t help but have another taste! The assembly is nearly complete. Repeat the process and once you’ve got all four layers on the stand, cover with a light layer of this sour cream frosting.

Above: the cake has been thoroughly frosted – the rich sour cream frosting will be absorbed into the cake and it also hides any flaws. Stick the cake in the fridge for a bit – this cooling down process is absolutely necessary here in Miami where the humidity works against you.
Now we can begin the final glaze. You will need 4 oz of semi-sweet chocolate, 2 tablespoons of unsalted butter (please don’t use anything else – it just won’t work), 1 tablespoon of dark rum, a dash of allspice and a ½ teaspoon of vanilla. All this goes into your metal bowl over slowly simmering water. Mix thoroughly with a spatula till it is glossy and smooth.
Above: keep mixing till everything comes together. Here - it's already quite glossy from the butter and the rum.
Take it off the heat and before it begins to become a solid, glaze the top of your cake. Then, back into the fridge it goes.

Above: the warm ganache may drip down over the edges – that’s okay.
Now, for the final step: I like to make something I call "chocolate sand" for the sides. I take ¼ cup of roasted sunflower seeds, ¼ cup of semi-sweet chocolate morsels and ¼ cup of good cocoa powder – I pulse these in a grinder and spoon as much of it as possible onto the sides of the cake. Once I’ve done this – I take the wax paper off and allow to cool overnight.
In the morning – I drove it to my sister’s where an emergency dose of chocolate was needed and we had it for breakfast.

Above: see how the cake absorbed all that rich frosting? It was truly anything but bland. The cake was firm but moist, the frosting had character, the glaze on top was a rich reward, and the chocolate sand had that beautiful touch of nut and subtle savory salt that made it all VERY adult.
Nevertheless, it did meet with kid approval, as the photos below show:

Above: my niece, a lovely but already surly teenager, preferred it to oatmeal.


Above: my nephew enjoyed it with his vitamins… even though he couldn’t understand why it tasted “French” (his code for adult). He also asked: "Why didn't you just open a box?"
Let me know how this trip from my kitchen, travels to your table.
STOUT CHOCOLATE CAKE*:
- 3 ounces semisweet chocolate, chopped
- 1 ½ sticks (¾ cup) unsalted butter, softened
- 1 ½ cups granulated sugar
- ½ cup firmly packed light brown sugar
- 1 ¾ cups sour cream
- 1 ½ teaspoons vanilla extract
- 3 large eggs
- 2 cups all-purpose flour
- ½ cup unsweetened cocoa powder (not Dutch-process)
- 1 teaspoon baking soda
- ½ teaspoon sea salt
- ½ teaspoon allspice
- 3 turns fresh ground black pepper (don’t bother with pre ground)
- 1 dash cayenne pepper
Preaheat oven to 375°F. Butter and flour two 9- by 2-inch round cake pans, knocking out excess flour.
In a double boiler or a metal bowl set over a pan of barely simmering water melt chocolate, stirring until smooth, and cool.
In a large bowl with an electric mixer beat together butter and sugars until light and fluffy. Beat in sour cream and vanilla until combined. Add eggs, 1 at a time, beating well with after each addition.
In a bowl whisk together flour, cocoa powder, baking soda, and salt and gradually add to sour cream mixture, beating until just combined. Beat in chocolate until batter is just combined and divide between pans.
Bake layers in middle of oven until a tester comes out clean, about 30 minutes. Cool layers in pans on rack 10 minutes and invert onto racks to cook completely.
* Gourmet magazine – 1996
No comments:
Post a Comment